

Buy today at: https://cults3d.com/en/3d-model/gadget/j-36-6th-gen-bomber-ptikyle
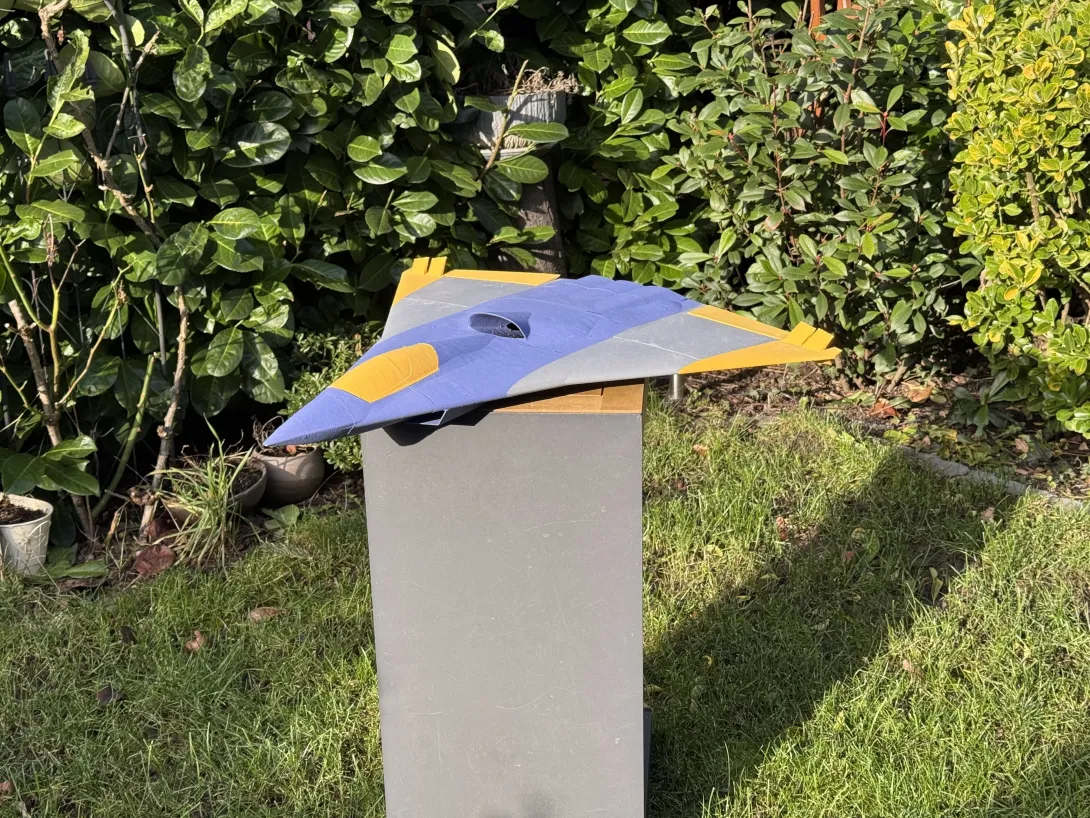
This was a first for me! All I had to go off with this design were a few grainy fuzzy images from the cell phone videos of this "J-36" flying around China. I actually started working on it before i saw the top view. This was a collaboration between myself and Thomas Heuer. I originally got the design to fly and Thomas added some nice detail work and refined the intakes to look more scale.
The design does fly well. It can be easily hand launched. Its not a fighter jet by any means. It flies like a bomber would. This design can be flown on 3, 40mm xfly EDF's or 2! I personally have not flown it on 2 but If i could go back and do it over i may use 2 edf's to cut the weight down a little and simply it. Totally up to you.
Flight videos:
Kyle: https://youtu.be/uRY20qEjyw8?si=DS0FJWW5zgcRNoUc
From Thomas: https://youtu.be/fqbaZlvGJgY?si=Ii9SLwvozMn4owac
Parts used in the build
2 or 3 xfly galaxy edf's
2 or 3 20 amp esc's
2x XT60 y adaptors (3motors)
2x JST wire adatptors (3 motors)
2x 9g servos
Battery: my 2400 SMC racing was slightly nose heavy but will fly , i reccomend an 1500-1850 range 4s
2mm acrylic sheet if you want to make the vertical tail transparent
Medium CA glue to build the plane
hot glue for the servos and EDF
velcro for the battery attachment
2x 10mm magnets for the canopy
1.2mm pushrod for the servos
3D printing settings
as always get your specific printer dialed in for active foaming LW pla.
1 wall
2 top and 2 bottom layers
3% grid infill works great. I use 5% grid or gyorid for elevons for strength